


If you’re a punch needle beginner, you might be wondering how to thread a punch needle. It can be difficult at first if you’re unsure what you’re doing- but that’s what I’m here for! In this article, I’ll teach you how to thread a punch needle, and you’ll be an expert in no time!
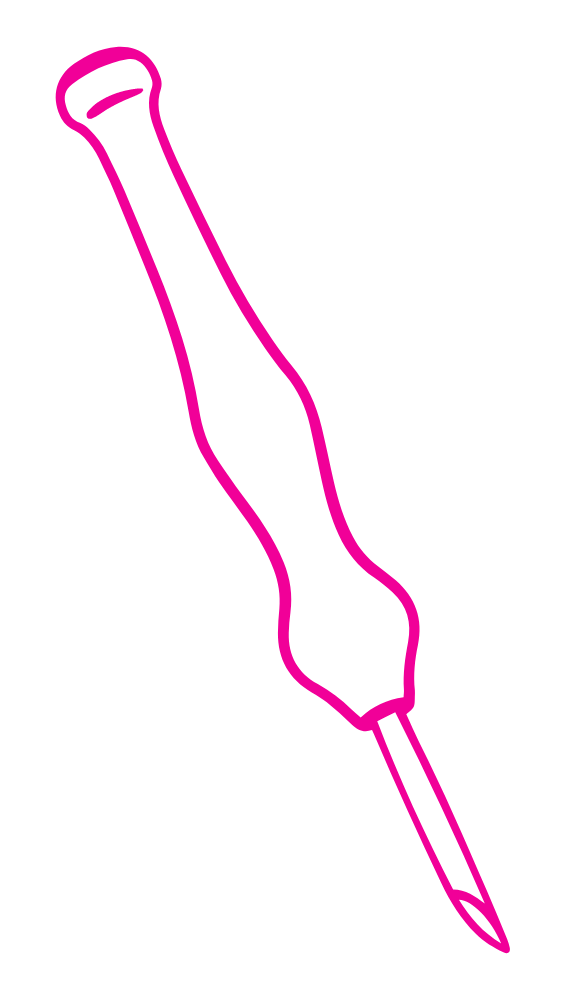
Understanding The Punch Needle Tool
There are different types of punch needles available on the market, each with their own unique features (I’ve linked my favorite punch needle tool and threaders at the bottom of this section*.) Some have adjustable loop heights, while others are designed specifically for thicker or thinner yarn sizes. It’s important to choose a punch needle tool that suits your project and personal preferences. Once you have your punch needle, it’s time to learn how to thread it!
Step-By-Step Guide On How To Thread A Punch Needle
Threading a punch needle may seem intimidating when you’re first starting out, but with a little practice, it becomes second nature. Here’s a step-by-step guide to help you get started:
- Choose your yarn: The first step in threading a punch needle is selecting the thread or yarn you want to use. Make sure it is compatible with your punch needle and suitable for the project you have in mind. For beginners, it’s best to start with a medium-weight yarn.
2. Prepare your yarn: Before threading the punch needle, make sure to pull a good amount of thread from your yarn skein. This will give you enough thread to work with without constantly having to stop and pull more yarn.
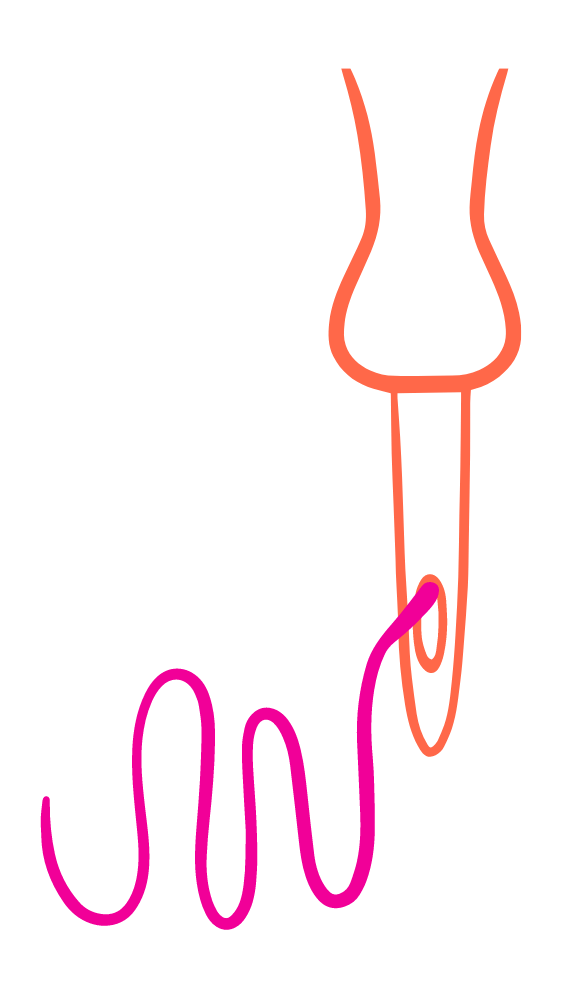
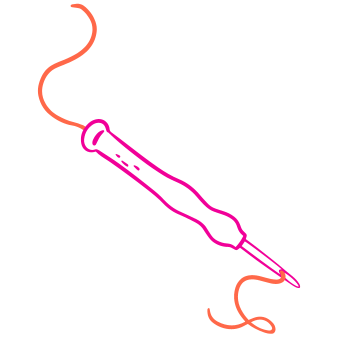
3. Thread the needle: Now it’s time to thread the punch needle. Start by inserting your threader through the hollow shaft of the needle until you see it poking out the other end.
4. Thread your yarn: Next, pull your yarn through the threader loop at the top of your punch needle tool. Once your yarn is threaded through the loop, pull the threader back down the needle shaft.
5. Thread the yarn through the small hole: Your yarn should now be through the main part of the needle. You should see a small hole on one side of the actual needle. Take your threader and insert it through the small hole. Make sure your threader is pointed towards the ‘open’ side of the needle.
6. Finishing touches: Now that your threader is inserted in the small hole, thread your yarn through the loop once again. Finish threading your punch needle by pulling your threader back through the hole. That’s it! You should be ready to start punching!
Helpful Tips
Threading a punch needle can be tricky, especially for beginners. Here are some extra tips to help you master threading your punch needle tool:
- Practice with scrap fabric: Before starting a project, practice threading your punch needle and punch on a scrap piece of fabric before you start your actual project. This will help you get familiar with the technique and you can make any necessary adjustments to your loop size and yarn before working on your actual project
- Make your own threader: Threader tools are thin metal wire that is bent in half and secured at the bottom to create a loop. I find that they can break quite often, and they have caused me a lot of frustration (and money). Surprisingly, threaders can be expensive and you can’t usually find them in local craft stores. A great tip is to make your own! Get some thin, yet sturdy wire and make sure the bend is super sharp so that it can fit through your punch needle tool. This way, if your threader breaks, you can easily make a new one!
- Keep your thread loose: When threading the punch needle, be sure to keep the thread loose. This will prevent it from slipping out the other side of your punch needle. I found it way easier to thread my punch needle when my yarn wasn’t taught.
- Experiment with different threads: Don’t be afraid to experiment with different types of threads and yarns. Each yarn will give your punch needle embroidery a unique look and feel. Have fun playing around with different textures and colors!

Time To Start Punching!
Threading a punch needle is an essential skill to master if you want to dive into the world of punch needle embroidery, but hopefully, this article helped you learn how to use a punch needle tool, and can aid you on your journey with punch needling! By following the step-by-step guide and keeping these tips in mind, you’ll be well on your way to creating beautiful punch needle designs. So grab your punch needle, thread it up, and let your creativity flow! And don’t forget to check out my Etsy shop, The Perfect Punch, for cute punch needle accessories to elevate your home decor! Happy punching!
*Disclosure: This blog post contains affiliate links in which I get a small commission if you purchase through the link.

how to thread punch needle | how does a punch needle work | threading punch needle | punch needle threading | punch needle threader | punch needle thread | needle punch thread | how does punch needle work | How to thread a wooden punch needle | punch needle art | punch needle tutorial | punch needle yarn | punch needle supplies | punch needle techniques | punch needle artist

Leave a reply to Understanding Punch Needling: How Does a Punch Needle Work? – Handmade Punch Needle Items | The Perfect Punch Cancel reply