

When I first discovered the art of punch needling, I ran to the craft store that very same day. I worked my way through the aisles and eventually found myself in the yarn section. Rows and rows of colorful skeins stood in front of me, and I just started grabbing. Excited by all of the cute colors and textures, I brought home about 15 different balls of yarn! Yeah, you could say I went a little overboard.
Eager to create, I sat down and made sure I had all of the necessary tools, set up my embroidery hoop, and began to punch- and what a disaster it was. My fabric wasn’t tight enough, my loops were slipping through, and it looked uneven and messy. I was so frustrated because I had absolutely no idea what I was doing wrong, so I gave up. It really bothered me how something that looked so easy, seemed to be so hard. A week later, I decided to do some research and give punch needling another try- and I’m so glad I did, because this time it was a success! With my experience now, and my growing Etsy shop — The Perfect Punch, I feel I have mastered the technique of punch needling enough to share some useful tips for beginners. In this article, I’ll tell you everything I wish I knew before I started punch needling!
Choosing The Right Fabric For Your Project
When I first started punch needling, I was using canvas, and it proved to be very difficult for a few reasons. The fabric I was using was way too thick for the small coaster that I was making. It was also too thick for my small punch needle tool, and I could barely punch the yarn through to the other side. Before you begin punch needling, it’s important to choose the right fabric that works best for your punch needle project. This leads me to my first tip: Choose right fabric.
I have found that the smaller the punch needle project, the thinner the fabric needs to be. When you are working with small, very delicate designs, it’s much easier to punch through a thin layer of cloth. The same goes for bigger projects like home decor- if you are making a pillowcase, you should be using thicker fabric. With this said, it’s not one size fits all. Play around with different fabrics and see what suits you best! It takes trial and error, but you’ll be glad you explored the different options, because you’ll be sure to find the one with the best outcome. My go-to fabric is weaver’s cloth because I mostly make smaller projects, but if you’re planning on making bigger items, then I suggest monk’s cloth. Listed below is a great fabric to start out with*.
Choosing The Best Yarn
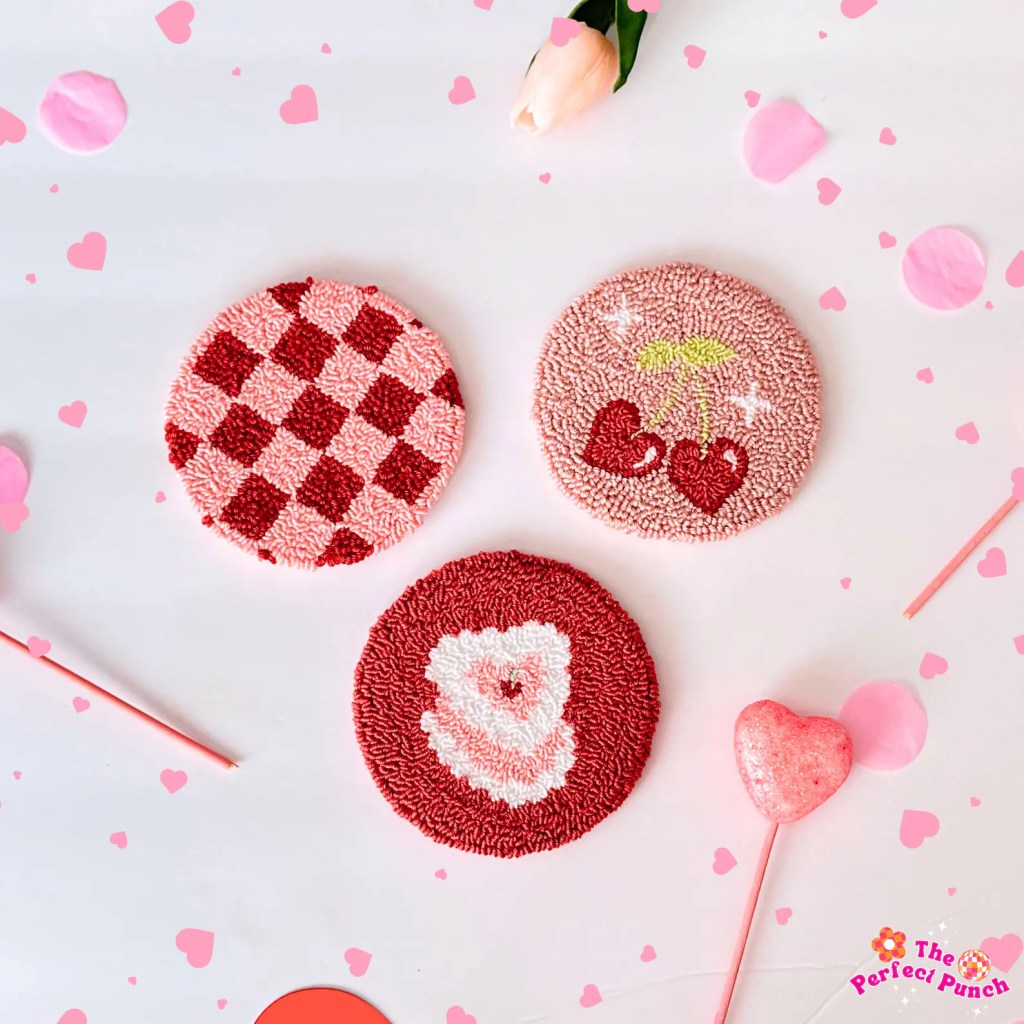
While one of the issues I was experiencing when I first started punch needling was not using the correct fabric, I was also having a problem with the yarn. The very first project I started, I used embroidery thread. I was making a coaster, and the thread loops were too far apart- there was no way that “mug rug” would be able to hold anything on top of it, let alone a mug! I clearly had used the wrong yarn for the project I was doing, but didn’t realize until after I finished. This leads me to my next tip: Choose the right yarn!
Now, this tip is completely dependent on the punch needle project you are making. There is no ‘right’ or ‘wrong’ yarn to use for punch needling, it truly depends on the project. I have tried many different types of yarn such as wool, acrylic, and cotton, and I have found that they all work great! My advice is to try out a few types of yarn on different projects, and decide which texture and look you like best! Just make sure the size of your yarn matches the size of the item you are looking to make- don’t end up like me with my embroidery thread coaster!
Embroidery Hoops
One of my biggest issues when I first started punch needling was that my fabric did not have enough tension. I found myself having to hold the limp fabric on the other side, and was punching into my finger every other stitch. What was I doing wrong? I pulled the fabric tight on the embroidery in the beginning, but I couldn’t figure out why it wasn’t staying taught. I soon realized why this was happening- it was my embroidery hoop! I was using a thin wood embroidery hoop that cost me 99 cents at the craft store. I went back to the craft store and tried out the plastic embroidery hoops that were only slightly more expensive than the basic wood hoops. Excited to try punch needling again with my new embroidery hoop- and to my surprise (and frustration) it STILL didn’t work!
Again, I came to ask myself what was I doing wrong? After some research and more trial and error, I found that a NON-SLIP embroidery hoop was my best bet. Non-slip embroidery hoops are different than the basic embroidery hoops because they have grooves that fit into each other like a puzzle. This helps keep your fabric taught while you are punching, and avoids the dreaded limp fabric that I was experiencing in the begging. Surprisingly, non-slip embroidery hoops are hard to find in your basic craft stores- so I recommend searching online! There are a few to choose from, but here is my favorite*:
Transferring Your Design
This mistake might have been the worst one I made when I first started punch needling. When I was making the punch needle mug rug coaster I mentioned above, I had a beautiful design drawn out. I traced it onto my fabric, and started punch needling. After hours of trying to finish my mug rug with the embroidery thread, it wasn’t until I was done and flipped it over to realize that my design was backwards! I can’t believe I had made such a silly mistake, and hadn’t seen anyone talking about it. Don’t be like me when I first started punch needling, and trace your design backwards so it is the correct orientation on the other side! At this point, there was no way I was going to be using that mug rug I had made, and it found its way to the trash.
The Best Punch Needle Advice I Can Give
Embarking on a punch needle embroidery adventure can be both exciting and rewarding. By familiarizing yourself with the right tools and materials, you’ll be able to avoid the issues I had when I first started punch needling, and you’ll be well on your way to creating beautiful punch needle art.
Punch needling was difficult for me at first, and even though I had to tackle all of those punch needle obstacles that I mentioned above (and more, I have a long list!) — I didn’t give up. It took time, patience, and creativity to get to where I am today- and I’m still learning! I’ve since built my own brand and Etsy shop where I create and sell my punch needle creations and accessories, while sharing my love for punch needling, one stitch at a time. So my advice to you if you are a punch needle beginner is: don’t give up. Remember to take your time, experiment with different yarns and fabrics, and enjoy the process. Good things take time, and you’ll be glad you started! Happy punching!
If you’re looking for cute punch needle accessories to elevate your space and decor, check out my Etsy shop, The Perfect Punch. ♡
*Disclosure: This blog post contains affiliate links in which I get a small commission if you make a purchase through the link.

How To Punch Needle | Punch Needle For Beginners | Punch Needle Embroidery | Punch Needle Tips | Punch Needle Tutorial | How To Needle Punch | Punch Needle Embroidery Designs | Punch Needle Embroidery Patterns | Punch Needle Coasters | Punch Needle Coaster Pattern | Monk Cloth | Punch Needle Tools | Handcrafted Gifts | Punch Needle Coaster Kits | Punch Needle Coaster Kit | Punch Needle Coasters DIY | How To Make A Punch Needle Coaster | Punch Needle Coaster Tutorial | Punch Needle Embroidery Kit

Leave a comment